Agoric Orchestration Basics Installation Guide
Here, we will walk through installing the Orchestration-Basics demo project onto your local machine.
Table of Contents
- Agoric Orchestration Basics Installation Guide
The Orchestration Basics dApp demonstrates key features of the orchestration API within a fully functional end-to-end environment. The user interface enables interaction with the orchestration components from client-side javascript.
Setting Up the Local Environment
To set up your local environment, refer to the agoric-sdk/multichain-testing/README.md for detailed setup instructions. Here’s a brief overview of the key steps:
Once it is setup, you want to be able to run:
kubectl get podsWe expect to see an output like this:
NAME                       READY   STATUS     RESTARTS      AGE
agoriclocal-genesis-0      1/2     Running    0             68s
gaialocal-genesis-0        2/3     Running    0             68s
hermes-agoric-gaia-0       2/2     Running    0             68s
hermes-agoric-osmosis-0    2/2     Running    0             68s
hermes-osmosis-gaia-0      2/2     Running    0             68s
osmosislocal-genesis-0     3/3     Running    0             68s
registry-79cf44b64-xct5b   1/1     Running    0             68s
This assures us that our environment with the following resources is running:
- an Agoric node
- a Gaia node
- an Osmosis node
- an Agoric <-> Gaia hermes relayer
- an Agoric <-> Osmosis hermes relayer
Check Agoric Daemon Status
Verify that the Agoric daemon is running with the following command:
agd statusIf the daemon isn't reachable, but the node is running, you may need to make sure the ports are forwarded properly. You can do this by running this command from inside multichain-testing/:
make port-forwardOverriding the Chain Registry for use with agoric-sdk/multichain-testing
To use this dapp with the kubernetes environment spun-up by multchain-testing & starship, we have to make sure vstorage reflects the chain information relevent to our locally-maintained environment.
Run the following commands from the agoric-sdk/multichain-testing/ directory:
make override-chain-registryMultichain-Testing Makefile Helpers
To streamline your workflow, you can add the following commands to the bottom of your multichain-testing/Makefile:
teardown: stop-forward stop clean delete

corepack-setup:
	corepack prepare yarn@4 --activate

corepack-enable:
	corepack enable

test:
	yarn test test/install-contracts.test.ts

all: setup install
	sleep 3
	make port-forward
	sleep 120
	make fund-provision-pool
	sleep 10
	make add-address
	echo "done running"

hermes-update:
	kubectl exec -i hermes-agoric-osmosis-0 -c relayer -- hermes update client --host-chain agoriclocal --client 07-tendermint-1 # or 07-tendermint-0
	sleep 60
	make hermes-update
Restart the Environment
If you need to restart your environment for any reason, use the following command from agoric-sdk/multichain-testing:
make teardown ; make stop; make stop-forward; make clean; make; make port-forwardTroubleshooting Docker
During setting up the environment, you may run into a few issues with docker. Here are two common setup requirements.
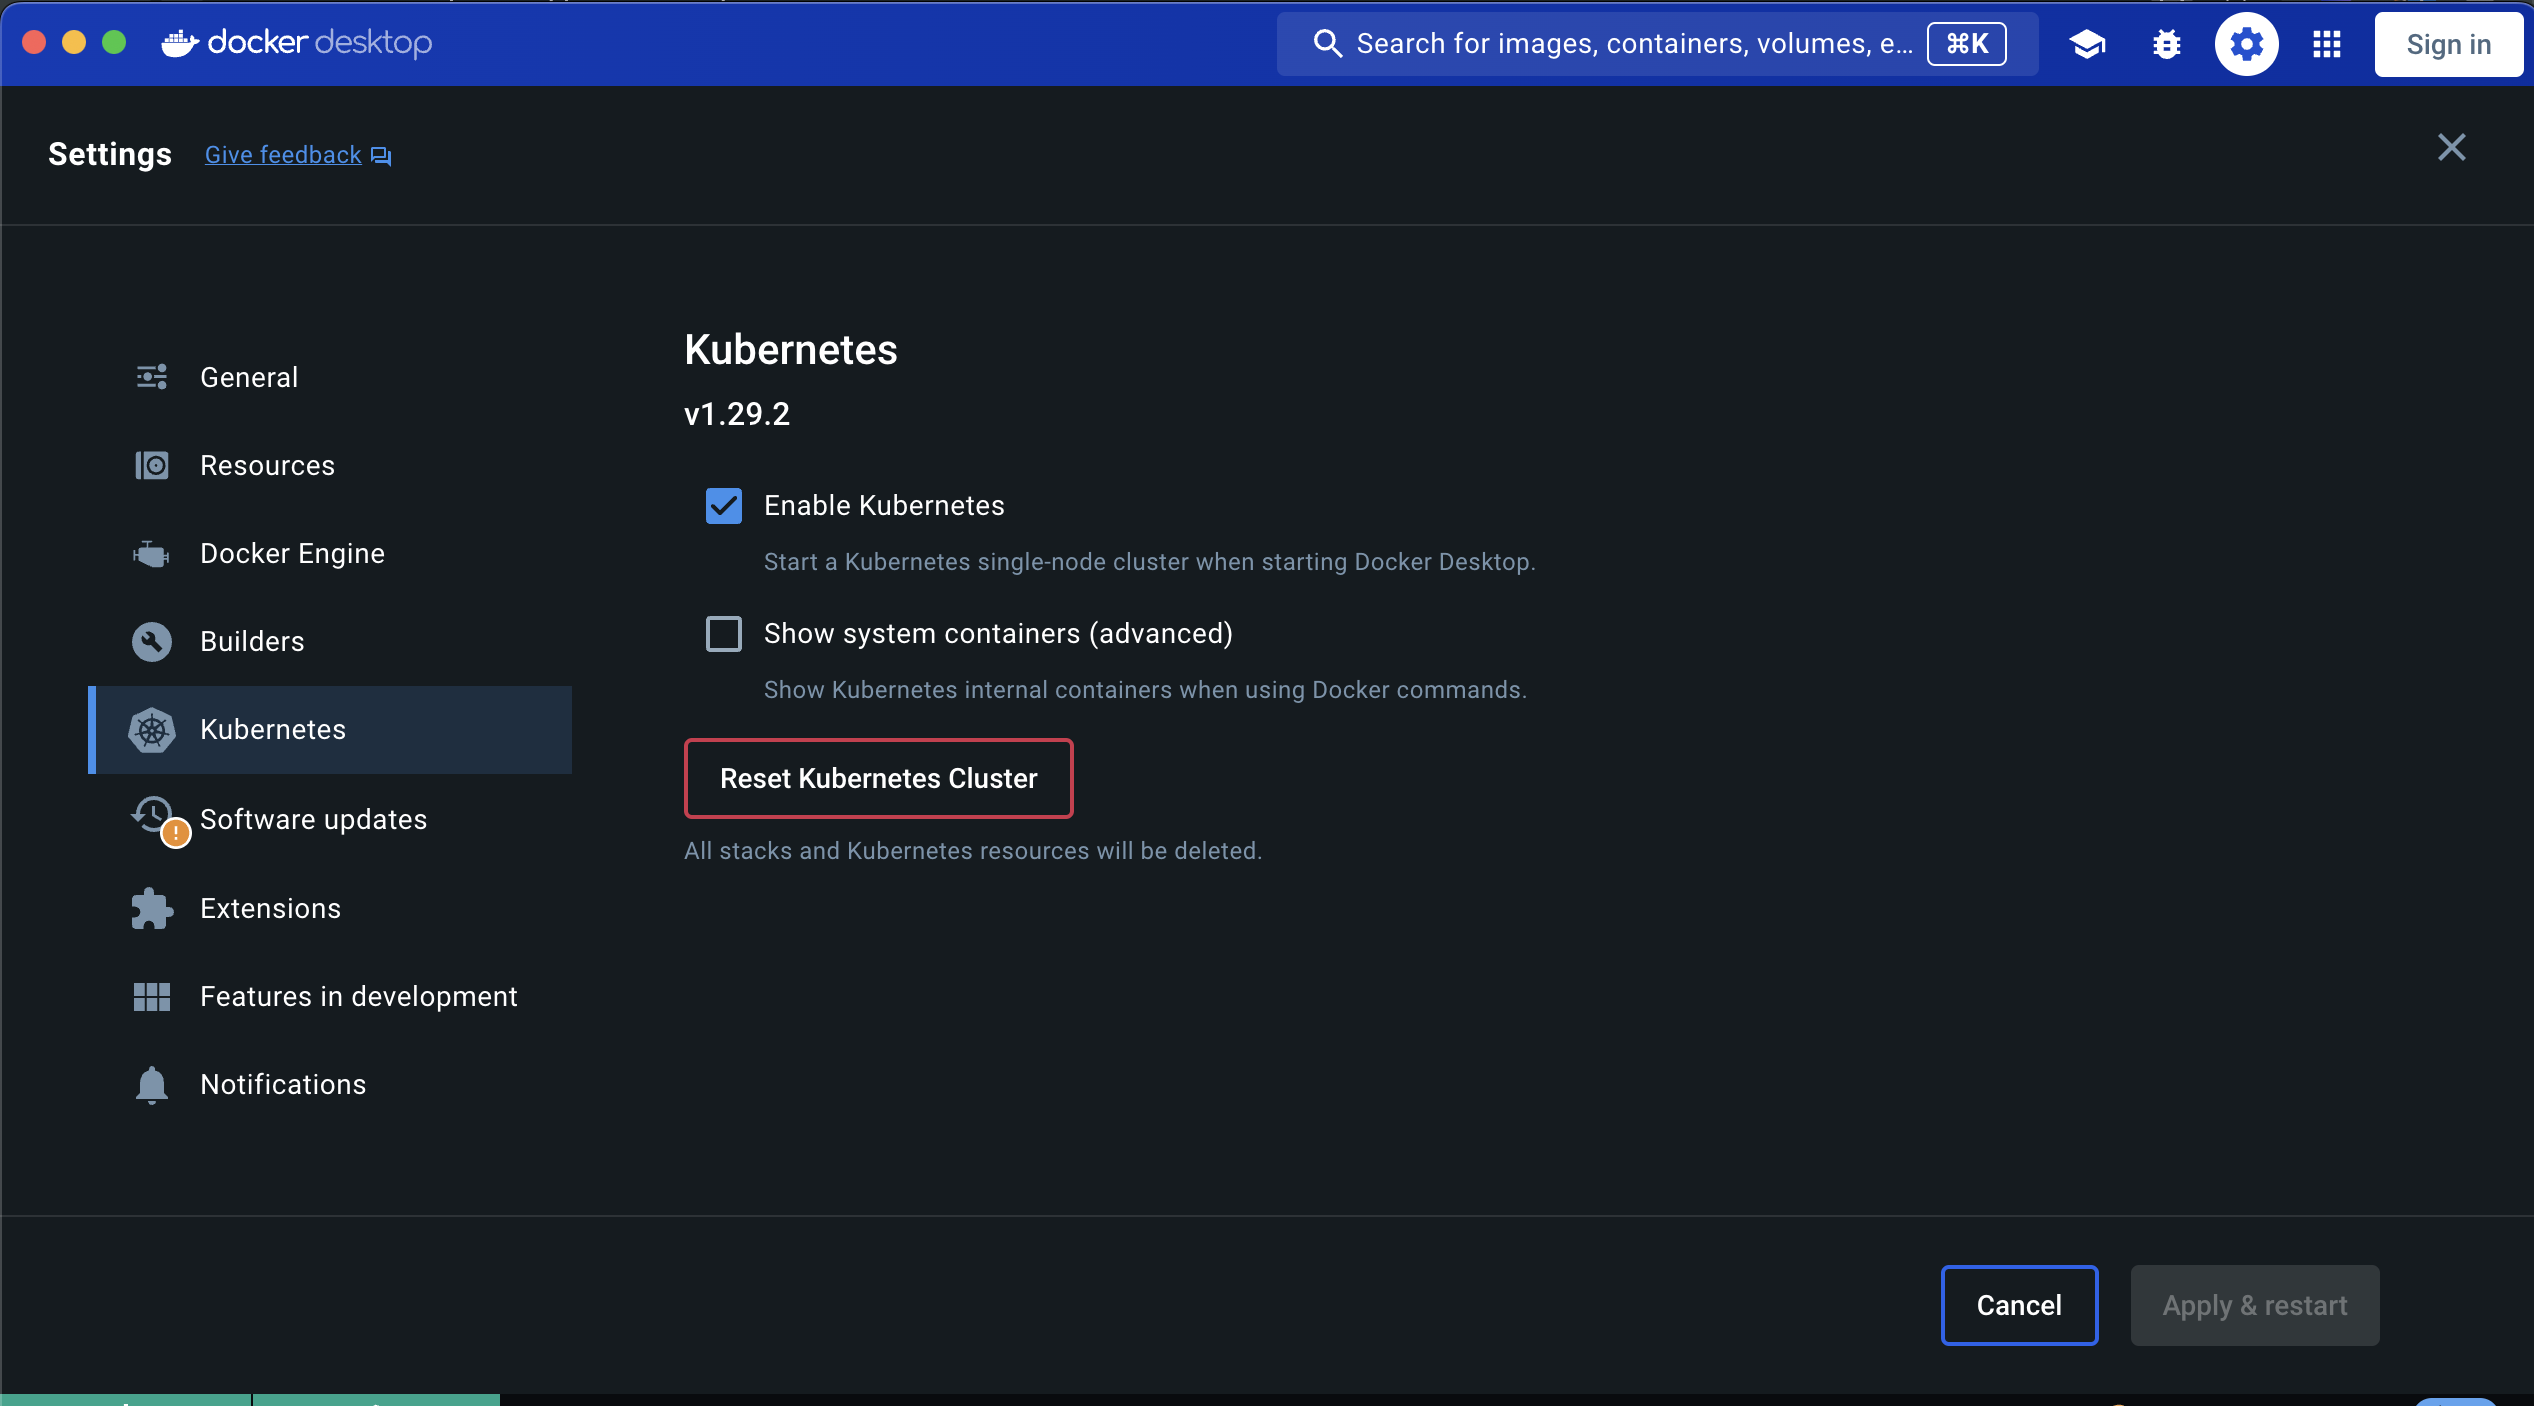
Enabling Kubernetes
Inside of "settings", navigate to the "kubernetes" section. Here, you want to ensure that you select the "Enable Kubernetes" checkbox. You will have to restart docker to make these changes take effect. This is something to keep this in mind if you have any containers that are currently running.
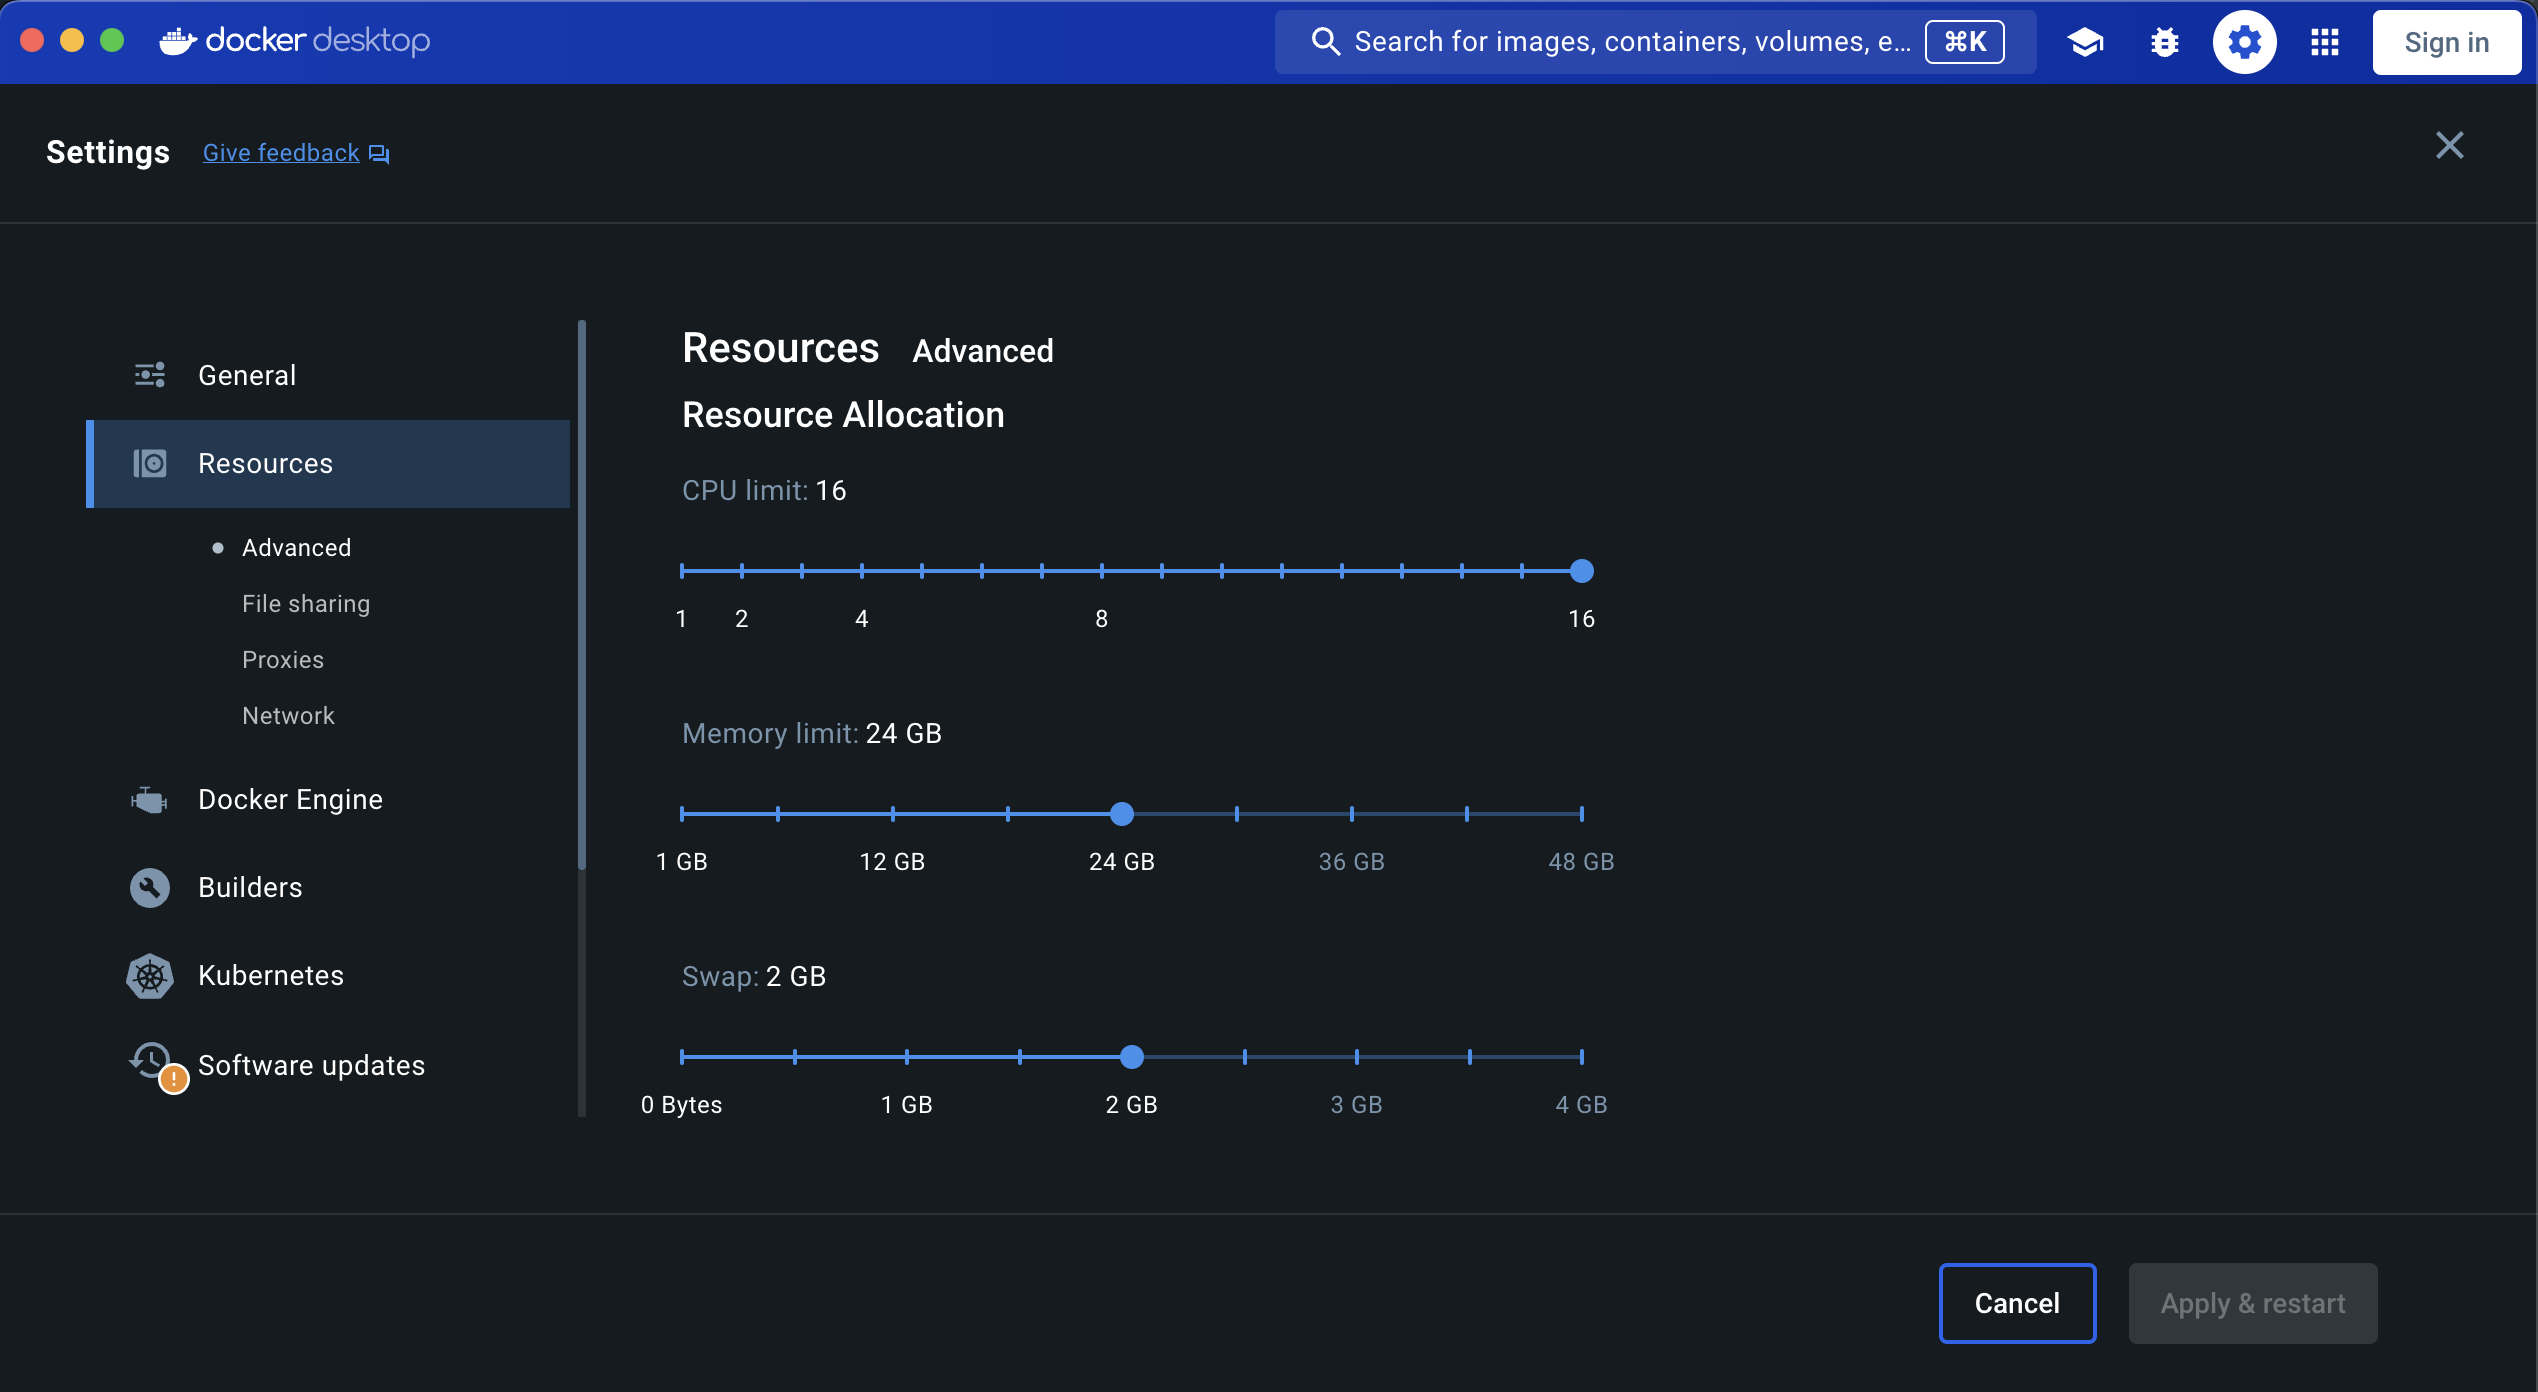
Increasing resources allocated to docker
From inside of "settings", navigate to the "Resources" section. By default docker doesn't optimize the resources allocated for running resource-intensive environments. For this environment, we want to ensure our CPU limit, Memory Limit, and Swap are all bumped up to 75% their max. You can always increase/decrease after you get everything setup, and determine how much resources are needed for your machine.
Adding a New Address
Before deploying the contract, we want to generate a new address using the keyring inside of the localchain environment. To add a new address to the keychain inside the Kubernetes pod, run the following command from the top-level directory:
make add-addressNow, inside of contract/, paste the resulting agoric1 prefixed address into the Makefile under the ADDRvariable.
Funding the Account
To now fund the account we just generated, we run the following command from the top-level directory.
make fundThis funds the pool, provisions the smart wallet, and also funds CLIENTADDR and CLIENT_OSMO_ADDR. You can use CLIENTADDR and CLIENT_OSMO_ADDR to set your browser wallet addreses that you would like to fund during this step.
CLIENTADDR: Your browser wallet address for interacting with the orchestration dApp.
CLIENT_OSMO_ADDR: Your Osmosis account address.
Building & Deploying the dApp
To build and deploy the dApp, run the following command from the top-level directory:
makeThis is a convenient step that will build, and deploy /contract/src/orca.contract.js, using scripts/deploy-contract.js.
Running Tests
To run tests, use the following commands from the top-level directory:
make test-orcaFor more on testing the project, see the testing guide under dapp-orchestration-basics.
End-to-End Build & Deploy
For an end-to-end build and deploy, use the following command if the contract deployment fails -- this will simply retry submitting the proposal:
make redeployFunding on Osmosis (for testing)
To fund an account on Osmosis for any reason, we can get access to the node's environment with this command:
kubectl -it osmosislocal-genesis-0 -- bashand now we are inside the container, and can interact with the keychain accounts, etc. For example, we can now look at the accounts in the keychain, without having to have the osmosis executable on our local filesystem directly.
osmosisd keys list
[{"name":"faucet","type":"local","address":"osmo1vhdew4wqu3tp8l2d55aqcc73aqvr0rr9vdxded","pubkey":"{\"@type\":\"/cosmos.crypto.secp256k1.PubKey\",\"key\":\"A5fdOBMxJrfNN0qRmA+Ewzamh1u/4AA1eKhEJHp+lWXr\"}"},{"name":"genesis","type":"local","address":"osmo1qjtcxl86z0zua2egcsz4ncff2gzlcndz2jeczk","pubkey":"{\"@type\":\"/cosmos.crypto.secp256k1.PubKey\",\"key\":\"AmPsa3aqarITEk9NM7T9guOi9VdyrHkqEdqVABLIcDew\"}"}]osmosislocal-genesis-0:/opt#
use the following command to fund any address from the faucet account:
osmosisd tx bank send faucet osmo1dw3nep8yqy5szzxn6hmma6j2z77vp4wz8tkh0w3gyrruwny0w03s070kaa 299999999uosmo --chain-id osmosislocal --gas-adjustment 2 --gas auto --from faucet --gas-prices 0.0025uosmoExample RPC query for Balances
To query balances via RPC, use the following URL structure:
http://127.0.0.1:26657/abci_query?path=%22/cosmos.bank.v1beta1.Query/AllBalances%22&data=%22%5Cn-agoric12j5kzvrwunqvrga5vm4zpy3mkeh3lvyld0amz5%22Temporary Funding of ICA
To temporarily fund an ICA, use the following command for example:
agd tx bank send keplr1 agoric15ch7da0d8nvqc8hk6dguq4ext0lvskpjcwm3patf8sygm63chmpqjlzt74 1000uist -y --chain-id agoriclocalThis is just a native bank transfer of 1000IST (uist) to an arbitrary account using agd